Brake bleeding is the process of removing air from the brake system.
In this guide, you’ll discover why brake fluid bleeding is necessary, the tools you need, and step-by-guide on how to do It, and common mistakes to avoid when bleeding your brake fluid.
Why Brake Fluid Bleeding Is Necessary?
Brake fluid helps transmit pressure from your brake pedal to the brake calipers, which then squeeze the brake pads against the rotors, bringing your car to a stop.
However, over time, brake fluid can degrade, become contaminated, or develop air bubbles, which can compromise your braking performance.
One of the primary reasons for brake fluid bleeding is to remove air bubbles from the system.
When air bubbles are present, they can compress under pressure, reducing the amount of force applied to the brake pads.
This can lead to a soft or spongy brake pedal, making it difficult to stop your car effectively.
Another important reason for brake fluid bleeding is to replace old or contaminated fluid.
Brake fluid can absorb moisture from the air, which can lower its boiling point.
If the fluid boils during heavy braking, it can cause the brakes to fade, making it difficult to stop your car.
Additionally, contaminants like dirt, debris, or metal shavings can enter the brake system and damage the components.
Regular brake fluid bleeding is essential for maintaining the safety and reliability of your car’s braking system.
By removing air bubbles and replacing old or contaminated fluid, you can help ensure that your brakes are always in top condition.
Here are some signs that your brake fluid may need to be bled:
- Soft or spongy brake pedal
- Squeaking or grinding noises
- Fluid leaks
Tools Required For Brake Fluid Bleeding
To perform a brake fluid bleed, you’ll need a few essential tools:
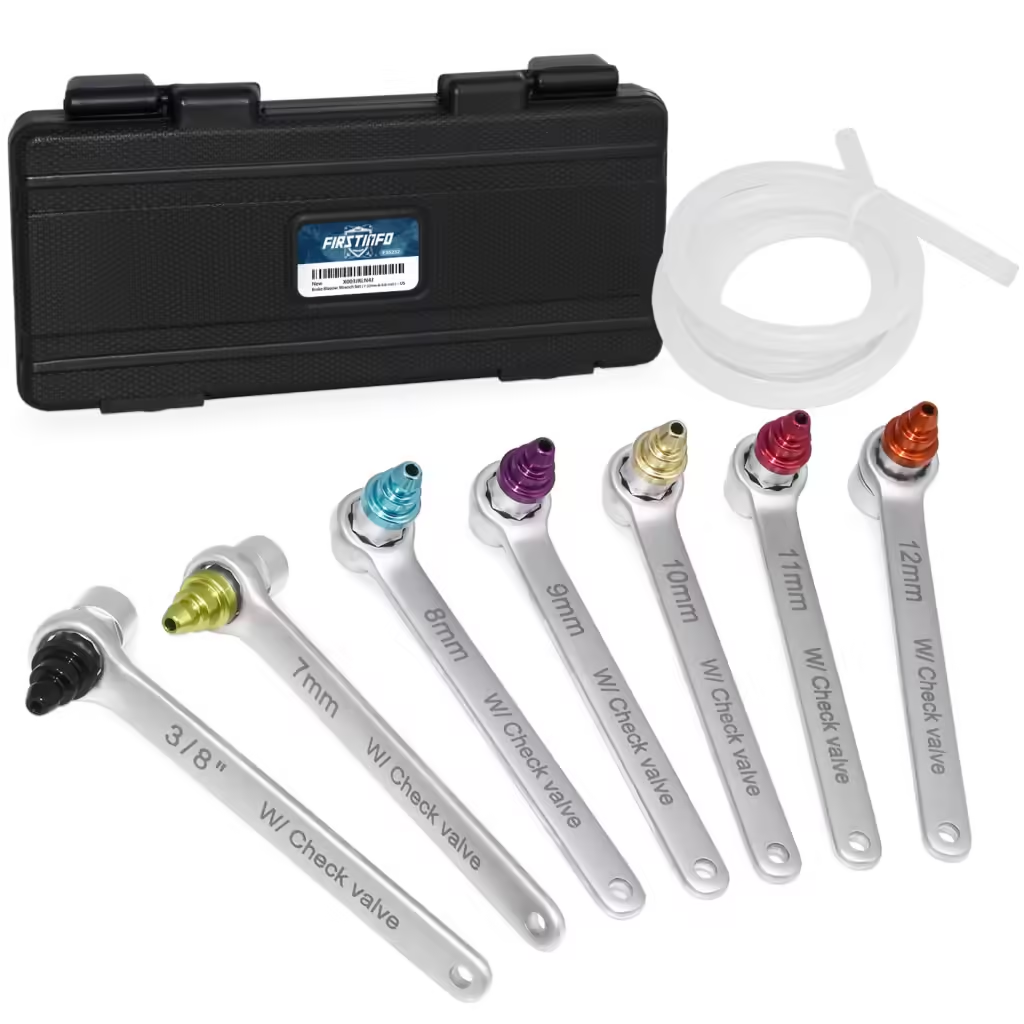
- Brake bleeder wrench or screwdriver: This is used to loosen and tighten the bleeder valve, which is a small valve located on the caliper.
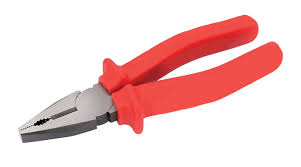
- Pliers: Pliers can help hold the bleeder valve open while you bleed the brakes.
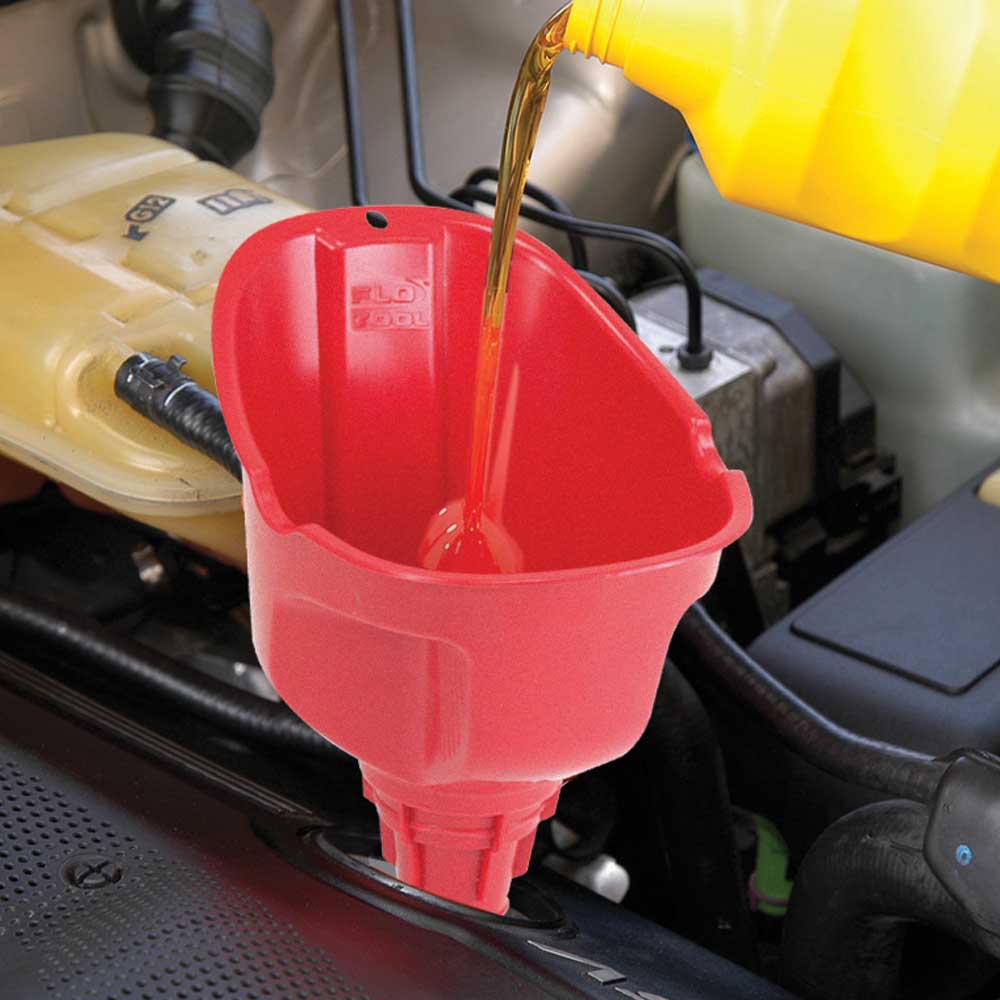
- Brake fluid reservoir filler funnel: This prevents spills when you add new brake fluid to the reservoir.
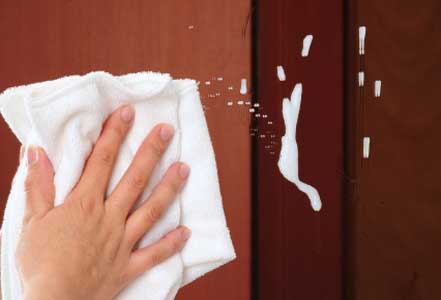
- Clean rags or paper towels: These are used to clean up spills and keep the area around your car clean.
- Container to catch old brake fluid: You’ll need a suitable container, such as a plastic bottle or pan, to collect the old brake fluid.
While not strictly necessary, these additional tools can make the process easier and faster:
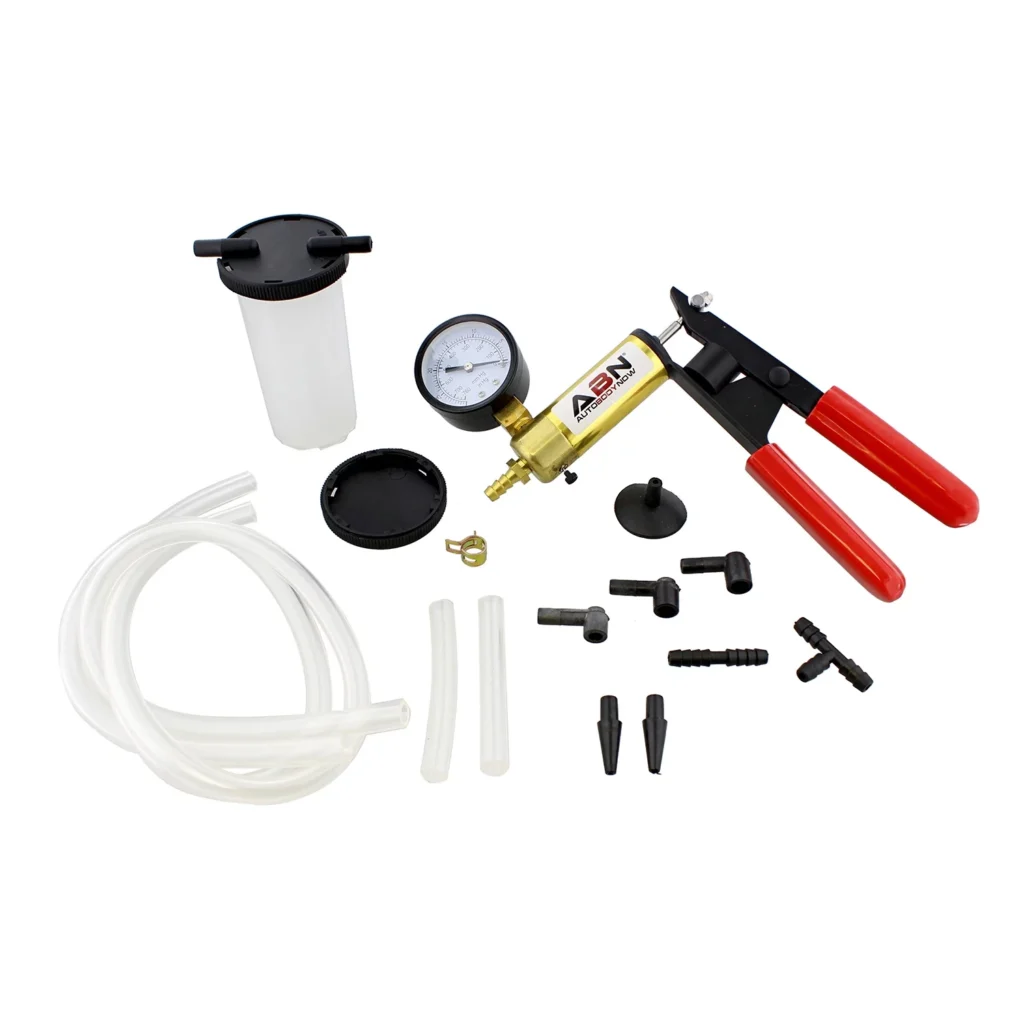
- Brake bleeder kit: A brake bleeder kit often includes a vacuum pump, which can help remove air from the brake system more efficiently.
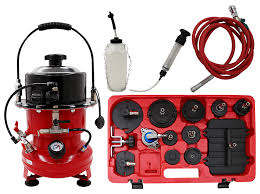
- Pressure bleeder: A pressure bleeder can be used to force fluid through the system, speeding up the bleeding process.
Step-by-Step Brake Fluid Bleeding Process
Bleeding your brakes is a simple task that can be performed at home with the right tools and knowledge.
Here’s a step-by-step guide to help you get started:
- Park on a level surface: This will help prevent air bubbles from getting trapped in the brake lines.
- Engage the parking brake: This will prevent the car from rolling while you work.
- Turn off the engine: This will help prevent the brake system from pressurizing.
- Locate the bleeder valves: The bleeder valves are usually located on the calipers. They are small screws with a square or hexagonal head.
- Prepare the brake fluid reservoir: Open the cap and top off the reservoir with fresh brake fluid. Make sure the fluid level is between the “full” and “add” marks.
- Start with the rear wheel farthest from the master cylinder: This will help ensure that any air bubbles are pushed out of the system.
- Open the bleeder valve: Use a brake bleeder wrench or screwdriver to carefully loosen the bleeder valve.
- Pump the brake pedal: Have someone press the brake pedal slowly and steadily. This will push the fluid through the system and force out any air bubbles.
- Close the bleeder valve: Once you see fluid coming out of the bleeder valve, close it tightly.
- Repeat for each wheel: Move on to the next wheel and repeat steps 7-9.
- Check for air bubbles: Check the brake fluid reservoir for air bubbles. If you see any, repeat the bleeding process for that wheel.
- Refill the brake fluid reservoir: Add more brake fluid to the reservoir as needed.
- Test the brakes: Take your car for a test drive to ensure that the brakes are working properly.
Remember to use the correct type of brake fluid for your car.
Consult your owner’s manual or a qualified mechanic for more information.
For a more visual explanation of the brake fluid bleeding process, check out this video tutorial:
Common Mistakes To Avoid During Brake Fluid Bleeding
Here are some mistakes to watch out for:
Overfilling The Brake Fluid Reservoir:
If you overfill the reservoir, the excess fluid can spill out and damage nearby components.
This can also lead to air bubbles in the system, which can affect your braking performance.
Using Contaminated Brake Fluid:
Contaminated brake fluid can damage the brake system and reduce its lifespan.
Always use fresh, high-quality brake fluid that is compatible with your car’s make and model.
Not Bleeding All Wheels:
If you don’t bleed all four wheels, you may have uneven braking.
This can be dangerous, especially in emergencies.
Not Checking For Air Bubbles:
Air bubbles in the brake system can compromise your braking performance.
After bleeding the brakes, check the brake fluid reservoir for air bubbles.
If you see any, repeat the bleeding process.
Using The Wrong Type Of Brake Fluid:
Different types of brake fluid have different properties.
Using the wrong type of brake fluid can damage the brake system and reduce its lifespan.
Always consult your owner’s manual or a qualified mechanic to determine the correct type of brake fluid for your car.